BOOK REVIEW: The Drunken Botanist by Amy Stewart

The Drunken Botanist: The Plants That Create the World's Great DrinksThe Drunken Botanist: The Plants That Create the World’s Great Drinks by Amy Stewart
My rating: 5 of 5 stars

Amazon page


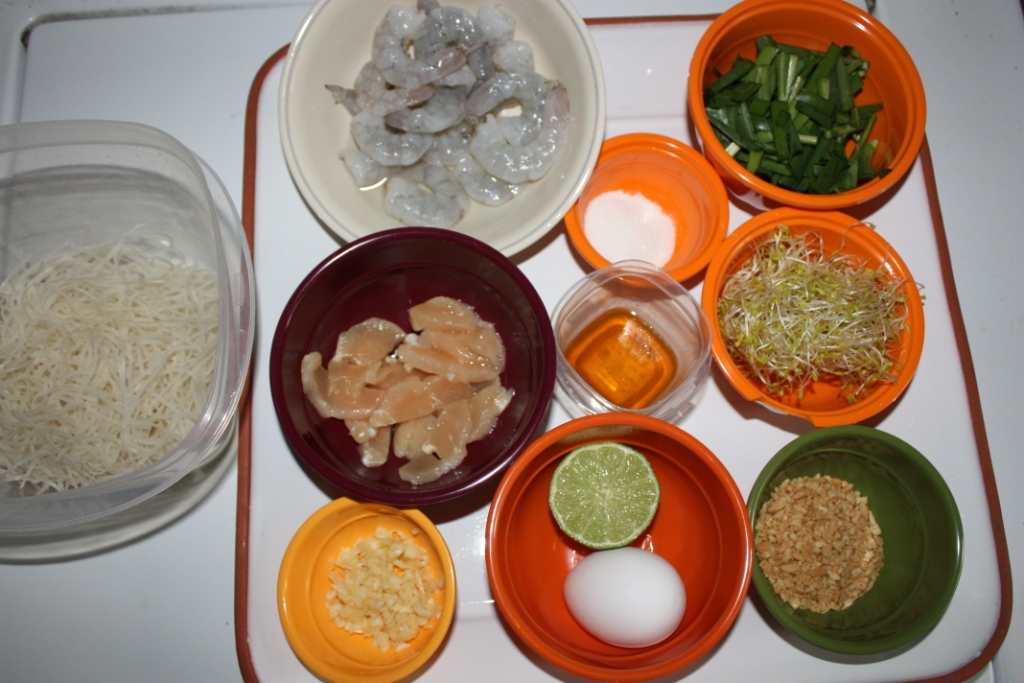
This book is about how plants are used in the making of alcoholic beverages from vegetative matter that serves as the primary ingredient in fermentation to obscure herbs and berries used to lend subtle flavoring. The book covers a lot of ground, being at once a guide to the chemistry of fermentation and distillation, a mixologist’s recipe book, and a guide to growing the plants used to make booze.

I will admit, if I weren’t such a neophyte to both subjects at hand – botany and alcoholic beverages – I probably wouldn’t have rated this book so highly. For me, almost every page offered new fun facts about alcoholic beverages, some of which I’ve consumed and many of which I never have. So if you have a high degree of understanding about one or both of these subjects, you may not find the book as intensely satisfying. Also, at times the book comes off a bit pretentiously – hardcore drunks probably don’t want to be shackled with so many rules for optimal alcoholic consumption (e.g. what type of glass they should drink a given drink from, etc.), but hardcore drunks are probably not a huge readership demographic. (It should also be noted that the reader gets some knowledge to fight pretentiousness as well, such as against gin drinkers who say they would never drink vodka when, in fact, they are drinking juniper berry-flavored vodka.)

The book consists of three parts. The first part describes fermentation and distillation and then offers two sub-parts dealing with the most everyday bases for alcoholic drinks (e.g. corn, grapes, potato, and wheat) as well as some of the more obscure and unusual objects of fermentation, respectively.

The second part delves into the plants that are added for flavoring or the like, and these are organized by: 1.) herbs and spices, 2.) flowers, 3.) trees, 4.) fruit, and 5.) nuts and seeds.

The final part gives some guidance on how some of these plants can be grown. It should be noted that this section is a bit thinner because a lot of information on growing the plants is covered in side-bars in the earlier sections and also this isn’t the book’s main thrust. The third part is similarly divided up between herbs, flowers, trees, berries & vines, and fruits & vegetables.

There are quite a few graphics, mostly in the form of line drawings, throughout the book – some are purely aesthetic and others are informative (e.g. drawings of plants.) There is also a recommended reading section that proposes further books to expand one’s understanding at the nexus of booze and plants. The book presents a lot of material in text boxes that set the information aside. These boxes include recipes, but also insights into how to best grow these plants with particularly emphasis given to how the process is optimized for those growing for beverage production (e.g. sometimes the optimal variety isn’t the most common variety.)

I enjoyed this book. It was readable, full of fun bits of information, and written in a light-hearted style. If you’re looking for a book on plants and alcoholic beverages, this is a good starting point. It doesn’t get too deep in the weeds but yet offers some obscure but amusing factoids.

View all my reviews

A Dude’s Attempt to Master Pad Thai

On a trip to Thailand last fall, my wife and I did a one-day cooking class in Chiang Mai. That day I made the perfect batch of pad thai. (For the uninitiated, Pad Thai is “noodles Thai-style.” It’s one of the more popular dishes at your local Thai restaurant. If you don’t believe me, go check. I’ll wait.)

Anyway, I preceded at home to make 35 batches of pad thai that bore little resemblance to food. That’s not true. Only the first five dishes were fundamentally inedible, the next thirty were tasty enough– they just didn’t taste like pad Thai. A poor cook might blame the difference on the variation in ingredients between Thailand and home. However, I have a sneaking suspicion the cooking school staff was slipping good cooking into my dish while I wasn’t looking. They’d say, “Godzilla” and point, and I’d turn (because one can’t take a chance that close to the Pacific), and when I turned back around the contents of my wok would look and/or smell better.

If making mac-n-cheese from a box, microwaving a HotPocket, or grilling a burger aren’t counted as cooking, then you might say that my experience with cooking was nothing. However through an extensive process of error and error, I arrived at delectable pad thai.

Below is what you’ll need.

Ingredients

Ingredients

First, for the anal retentive types who’ve noticed that I took this picture on top of the washing machine, that was solely for lighting purposes. This process in no way involves use of the washing machine. It’s not one of those clever recipes like cooking fish in the dishwasher. I’m serious, under no circumstances are you to attempt to use your washer in the making of pad thai.

In list form, what you’ll need is:
– 2 Tablespoons of oil (anything but olive)
– 4-ish cloves of garlic (more if you have a vampire-infestation problem)
– shrimp (several to many)
– chicken (one to two tenders’s worth; like the size of tender they give you at Applebees or Chilis– NOT McDonalds, i.e. a swanky tender)
(substitute tofu if you’re one of those quasi-vegetarians who count chicken as animal but don’t count shrimp/fish.)
– egg (1)
– 2 Tablespoons fish sauce
– 1-1/2 teaspoons sugar
– rice noodles (about 2 ramen packets worth, not that you should buy it that way)
– crushed peanuts (3 heaping Tablespoons)
– spouts (1 cup-ish. Normally this is soy or mung bean sprouts, but I’ve substituted Alfalfa sprouts because they work fine and last longer in the fridge.)
– spring onions or chives or something green and oniony (1-cup-ish)
– 1/2 a lime

Step 1: Heat your oil in a wok. Get it hot enough so that when you throw the garlic in, it’ll sizzle. This will make you feel more chef-like.

Sizzling garlic

sizzling garlic

Step 2: Add the animal stuff. Put the chicken in first, it takes longer than the prawns.  If you’re using tofu, put it in after the shrimp (tofu won’t cause you severe debilitating diarrhea if it’s under-cooked. [I don’t think, but I have no idea what I’m talking about. Although I do suspect one shouldn’t refer to diarrhea at any point in a food blog post.])

chicken and shrimp (lamest superhero duo ever.)

chicken and shrimp (lamest superhero duo ever.)

Step 3: Add the egg, fish sauce, and sugar. Scramble the egg up good, and mix everything together.

Egg, fish sauce, and sugar

egg, fish sauce, and sugar

prawn scramble

prawn scramble

Step 4: Add the noodles. This is the trickiest part of all. First, they make a lot of different types of rice noodles in different dimensions and colors, and they all cook differently. I prefer thin noodles. I must admit the noodles are the weak part of my game. In the batch I’m showing, the noodles are overcooked, but I have done them just right. (You’ll have to take my word.) It’s preferable to have them slightly under-cooked when they’re mixed with the prawn scramble (There’s usually enough moisture that they’ll continue cooking.)

At the cooking school, we put pushed the prawn scramble up to the top of the wok and tilted the wok over and put dry noodles and a cup of water in the bottom of the wok. We then cooked the noodles, and then mixed them with the prawn scramble.  If you’re an octopus or a ninja, that method works great. I, however, pour boiling water over bowled noodles when I’m putting the chicken in the wok, then I tong them into the wok and mix them right together with the prawn scramble.

overcooked noodles this time

overcooked noodles this time, so sad

Step 5: Add the vegetable stuff. First, throw in the crushed peanuts. Then stir in the sprouts and the spring onion. (These are all done last, because you want them to provide a bit of crunch. i.e. You don’t want them thoroughly cooked.)

with the veges in

with the veges in

The penultimate step is to squeeze on the lime. This can be done into the wok after it’s removed from the heat or directly on top of one’s bowl.

Step 6: Eat. I’ve included the following picture as proof that this was, in fact, edible.

last few bites

last few bites